Test Windows Desktop Digitise apps
During development of a Windows Desktop Digitise app, you can test the app on your development PC using the Run Project option within App Studio. This option will automatically publish the currently open Project to the App Server running on your development PC and then load the standard Digitise Apps Windows Desktop Client and automatically download the app and run it. Whenever you want to test changes to your app, you can simply use the Run Project option again. When using the Run Project option, you don't need to configure access rights within App Manager for the app you are testing as the app will only be running on the PC on which it is being developed.
To use the Run Project option to test your app:
Firstly, you need to tell the Windows Desktop Client how to connect to your App Server.
Run up the Client in the standard manner for your operating system, e.g. by choosing:
 → All Programs → NDL Software Digitise Apps→ Digitise Apps Windows Client
or using a Desktop shortcut or app tile.
The Windows Desktop Client will load.
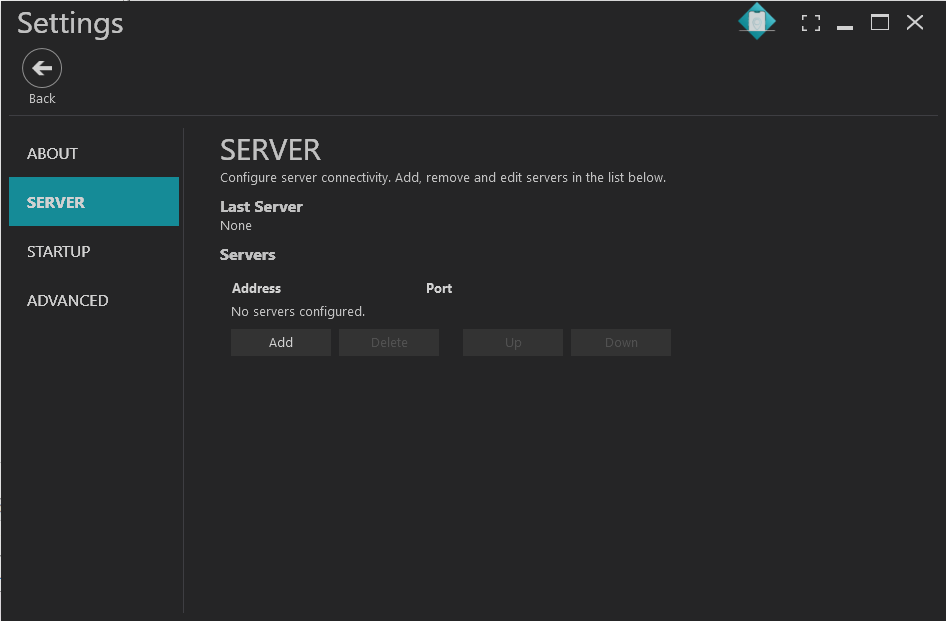
Click or tap the Settings button in the top left-hand corner  and then choose SERVER from the left-hand menu.
The Server options will be displayed:

Click on the Add button,  , to add a new Server. Enter the IP address or DNS name of your PC in the Address field and then click or tap outside the address field.
Click or tap on the Back button,  ,to return to the Home screen.
Close down the Client.
You now need to set a path to the Windows Desktop Client on your development PC. To do this, within App Studio click on the Ribbon's File tab and then choose Settings. The Run Digitise Apps Client options allow you to specify the path and file name of the Client you want to run. The Legacy TabletPC option is no longer used and can be ignored.
You need to specify a version of the Windows Desktop Client installed on your development PC. If you have installed Digitise Apps to the default location, either use the Browse button,  , to locate the following file or manually type in the file name and path:
C:\Program Files (x86)\NDL Software\Digitise Apps\Desktop Client\DigitiseAppsClient.exe
Choose the OK button when you have finished.
You only need to perform the above steps once, after that you should only need to follow the remainder of the steps below, unless you later need to change your IP Address or you want to edit the test Client file path.
When you are ready to test a Project you are working on in App Studio, click on the top half of the Run Project button in the Project group on the Ribbon's Home tab. This will update the App Server with the latest version of your app.
Your specified Windows Desktop Client will then load and automatically run the latest version of your app. You can now work through the app and test that it works as expected.
When you have finished testing the app, you must close the Client as the Run Project button will be disabled whilst your app is running.
You can use this method to test your app as often as you like during development.